
In this tutorial, you will learn how to install Asterisk 16 on Ubuntu 18.04 LTS Server. Asterisk is the widely adopted and popular open-source PBX platform used by small and large businesses, call centers, and also by many government organizations.

It includes features like voicemail, music on hold, conference calling, call queuing, call recording, video conference, interactive voice response (IVR), and much more.
At the time of writing this post, the latest long term support (LTS) version of the asterisk is 16. However, Asterisk 17 is released but that is not an LTS version.
The older version of Asterisk (Asterisk 13) is available in the default repository of Ubuntu 18.04 and can be installed by using the below command.
sudo apt install asteriskTable of Contents
Prerequisites:
Before starting this article, make sure you have done the below things:
- Log in as a user with the Sudo privileges.
- Update your Ubuntu install with the below-given commands:
sudo apt update && sudo apt upgrade- Install the required packages for building and installing Asterisk 16 using the below commands:
sudo apt install wget build-essential subversionStep 1: Download the required version of Asterisk
The source code of Asterisk is freely available on its official website. We will download the source code in /usr/src/ . Change the directory by using the below command:
cd /usr/src/After changing the working directory, Download the Asterisk 16 source code from its official website. You can directly use the below command to download it.
sudo wget http://downloads.asterisk.org/pub/telephony/asterisk/asterisk-16-current.tar.gzWhen the download completes, extract the archive by using the below command:
sudo tar -xzvf asterisk-16-current.tar.gzNow change the working directory to the extracted folder by using the below command:
cd asterisk-16.*/Step 2: Install missing Dependencies
Before installing Asterisk, we have to install some of its dependencies. The below script will download the required source file for building and installing the MP3 module to use MP3 files on Asterisk.
Download the required files by using the below command:
sudo contrib/scripts/get_mp3_source.shIn the next step, we have to run the install_prereq script which will download the install all the missing dependencies on our Ubuntu system. Run the script by using the below command:
sudo contrib/scripts/install_prereq installYou will see the below output on completion of the script.
Output:############################################### install completed successfully#############################################
Step 3: Install Asterisk 16 on Ubuntu 18.04
At the very first step, we have to run the configure script, which will check for all dependencies in our system. Run the configure script by using the below command:
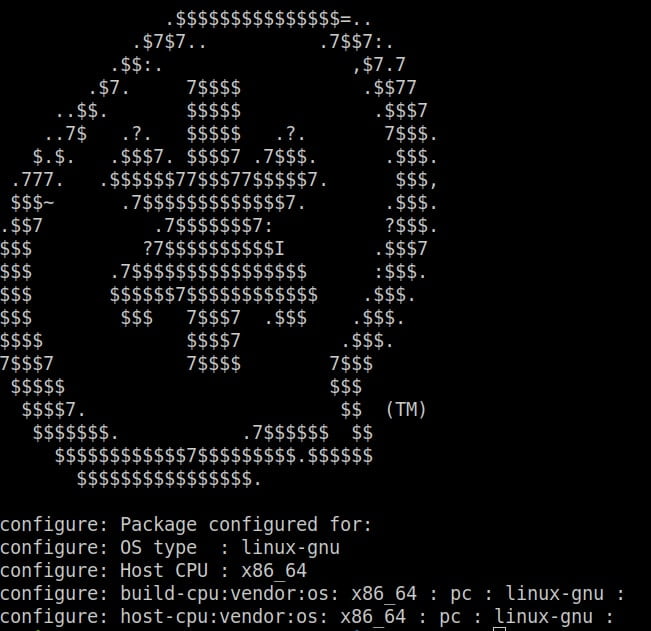
sudo ./configureWhen the script completes you can see the below output.
In the next step, we will select the modules we want to compile and install with Asterisk. In this tutorial, we will only compile and install the MP3 module of Asterisk.
Open the module and build option selection by using the below command:
sudo make menuselectIn the earlier step, we already downloaded the MP3 module source file and in this step, we only select the option format_mp3.
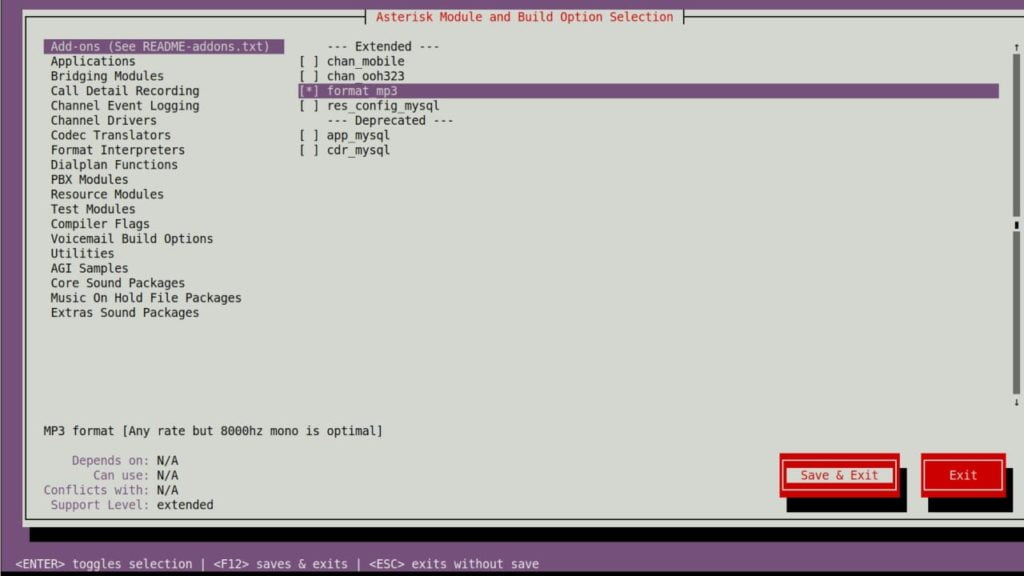
After selecting the required options save and exit from the menuselect window. You can press F12 for save and exit.
Once we select the required modules, we are ready to start the compilation by using the make command.
sudo makeThe compilation process may take some time depending on your system’s performance. Once it completes you will see the below output.
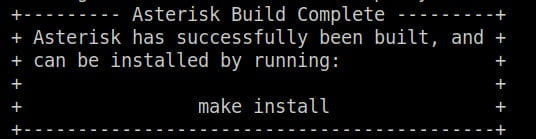
After the successful compilation of asterisk modules, use the below command to install asterisk.
sudo make installThe below output will come after the completion of installation script.

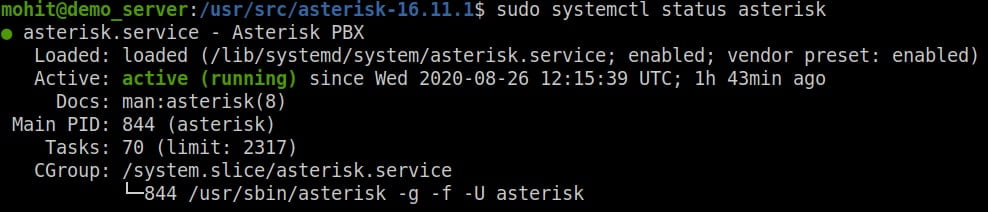
Now we have successfully installed asterisk 16. After that use the below commands to start the asterisk service.
sudo systemctl start asteriskYou can check the service status by using the below command.
sudo systemctl status asteriskThe below output will appear if asterisk service is started.
Enable the asterisk service by using the below command.
sudo systemctl enable asteriskConclusion
In this article we successfully install the Asterisk 16 on Ubuntu 18.04 LTS Server. Share your thoughts in the comment section.
You can learn more about asterisk from the Official Asterisk Documentation.