Node.js is an asynchronous event-driven JavaScript runtime built on Chrome’s V8 JavaScript engine. It runs on the server side. It is mainly used for easily building fast and scalable network applications. In this article, you will find ways to install Node JS in Ubuntu Linux.

In this tutorial, we will Install Node in Ubuntu Linux using two different ways. The first method is by using Ubuntu’s Official repository and the second is by using the nodesource repository.
Table of Contents
Latest Node js version
At the time of writing this article, the latest version of the node js is 15. But we will install the LTS version of node js which is version 14. However, if we install the node js using Ubuntu’s Official repository, then we will not get the latest version of node js.
The official repository of Ubuntu 18.04 LTS has node js version 8.10 and Ubuntu 16.04 LTS has version 4.2. However, if you want to install the latest version of the LTS version of node js then you have to use the nodesource repository.
Install Node JS in Ubuntu using Official repository
For this tutorial, we are using Ubuntu 18.04. However, you can follow the same steps for other versions of Ubuntu like 20.04 or 22.04.
- Step 1: Open your terminal and update the repository with the latest package information. Use the below command to update the Ubuntu Repository.
sudo apt-get update
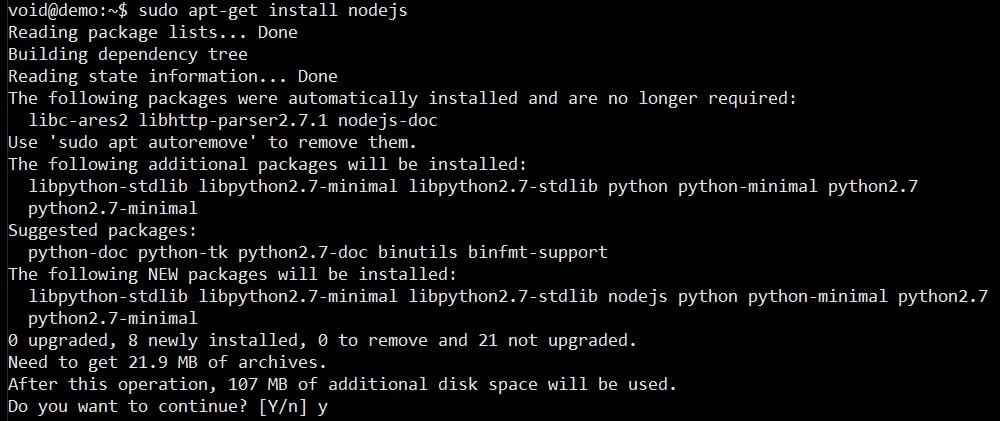
- Step 2: After that, Install the node js package using the below command.
sudo apt-get install nodejs
- Step 3: After installing, you can verify the installation by checking node js version. Use the below command to verify the installation.
node -v
####OR####
node --version
Install Node JS using nodesource repository
We can install the latest version of Node js using nodesource repository. But for this tutorial, we will install the LTS version of node js which is version 12 at this time. So let’s begin with the first step, which is updating the source repository.
- Step 1: Same as the previous method, we update our repository by using the below command.
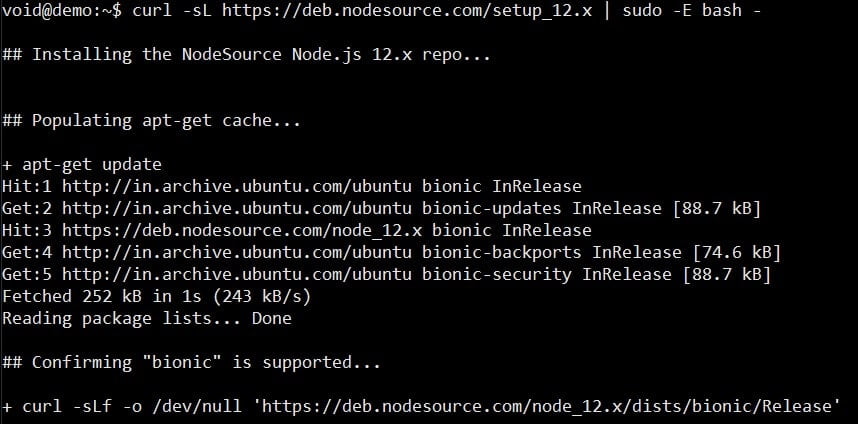
sudo apt-get update- Step 2: After that, we have to add the nodesource PPA by running the below command.
curl -sL https://deb.nodesource.com/setup_12.x | sudo -E bash -
Now the packages of node js version 12 are available on our Ubuntu machine.
- Step 3: After that, install the node js package by running the below command.
sudo apt-get install nodejs
- Step 4: After installing, verify the installation by running the below command.
node -v
###OR###
node --version
- Note: As many users search for How to install npm on Ubuntu. I would like to tell you that when we install node js the npm will be installed along with it. You can also verify the installation of npm using the below command.
npm -v
###OR###
npm --version
Summary :
In the end, Now we have node js and npm installed on Ubuntu.
In this article, We discussed How to Install Node JS in Ubuntu Linux. You can share your thoughts in the comment section.
- Also Read: How To Install Nginx on Ubuntu 18.04 Server