Table of Contents
Introduction :
WordPress is the most widely used open-source CMS (content management system) software available on the internet. With WordPress, you can easily create a beautiful and highly customizable Blog, Website or a Web app. WordPress uses Mysql for database and PHP processing.
Latest WordPress 5.2.3 is released on September 5, 2019. In this tutorial, we will install the latest version of WordPress with LEMP stack ( Linux, Nginx, MySQL, and PHP ) on Ubuntu 18.04 LTS.
Install WordPress 5.2 with Nginx is always the best option because Nginx is super fast and we can also use PHP-FPM fast cache with WordPress.
You can check the Minumum Requirements for WordPress Here.
Prerequisites :
So before we start this adventure, We need to complete these tasks:
- Install Ubuntu 18.04 LTS: Yes, The first and last thing you need to do before following this tutorial is only getting an installed Ubuntu 18.04 Server and get access to it. You can follow this tutorial to install it.
Let’s start, We will complete our objective in some simple steps.
Step 1: Install Nginx
A working web server is the first requirement of WordPress and we are using Nginx as our web server. Nginx is the second most used web server on the internet.
Install Nginx Web server using the below commands :
sudo apt update
sudo apt install nginx
After installing Start and Enable the service of Nginx Web server using the below commands :
sudo systemctl start nginx.service
sudo systemctl enable nginx.service
After that verify that the Nginx service is running using the below command and also verify by browsing below URL in your web browser.
sudo systemctl status nginx.serviceURL: http://your_server_IP/
You should see this Default web page of Nginx at this URL.

If you see this page that means Nginx is installed and running. Now let’s move to the next step.
Step 2: Install MySql
A database for all the content is the second requirement of WordPress, therefore, we are using MySql for this. MySql is a very reliable and simple to use database. We will install the latest version of MySql server Which is Version 8.
You can follow this step by step guide to install and start MySql Server 8 on Ubuntu 18
Step 3: Install PHP with PHP-FPM
WordPress is built over PHP so it’s better if we install the latest version of it. Nginx uses PHP-FPM for PHP processing and process management.
You can easily install the latest version of PHP via following our another article: How to Install Latest PHP 7.3 on Ubuntu 18.04
PHP-FPM and some other additional modules are required by WordPress. Those modules are not the default modules and are not installed when you install PHP.
You can install these modules by running below commands:
sudo apt install php7.3-fpm php7.3-common php7.3-mysql php7.3-gmp php7.3-curl php7.3-intl php7.3-mbstring php7.3-xmlrpc php7.3-gd php7.3-xml php7.3-cli php7.3-zipAfter that, we should change some settings of PHP-FPM for WordPress because these settings are supported by most of the CMS Softwares.
For changing the settings open the configuration file by running below command:
sudo nano /etc/php/7.3/fpm/php.iniAnd update the below settings with the given values and save the file.
file_uploads = On
allow_url_fopen = On
short_open_tag = On
memory_limit = 512M
cgi.fix_pathinfo = 0
upload_max_filesize = 200M
post_max_size = 200M
max_execution_time = 400
date.timezone = Asia/Kolkata
After that, open the FastCGI configuration file of Nginx and add the below lines at the end of the file. This is very important for redirections in Nginx.
vim /etc/nginx/fastcgi_params
fastcgi_param SCRIPT_FILENAME $realpath_root$fastcgi_script_name;
OR
echo "fastcgi_param SCRIPT_FILENAME $realpath_root$fastcgi_script_name;" >> /etc/nginx/fastcgi_paramsAfter that just reload the PHP-FPM service by the below command.
systemctl reload php7.3-fpmOR
/etc/init.d/php7.3-fpm reloadStep 4: Create a Database for WordPress
In this step, we create a MySql Database which is used by WordPress for saving all the contents of our blog or website. We use the settings which are required by WordPress.
Method 1: From MySQL Command Line
At the very first step, Login to the Mysql console by running this command. Enter the root password which you have created during MySql installation.
mysql -u root -pAfter that, create a new database by the command below. You can choose the database name of your choice.
Choose the character set utf8_general_ci because it is recommended by its official website.
CREATE DATABASE my_wordpress DEFAULT CHARACTER SET utf8 COLLATE utf8_general_ci;Now, we create a new user for the database and give all permissions for only this database to the user.
GRANT ALL ON my_wordpress.* TO 'my_wpuser'@'localhost' IDENTIFIED BY 'yourpassword';Change the “my_wpuser” with your desired username and “yourpassword” with a strong password.
After that, we flush the privileges table for applying recent changes and then exit from the MySql console.
FLUSH PRIVILEGES;
exit;
Method 2: From PHPMyAdmin GUI
Just in case, If you do not like the MySQL commands OR you just want to create the database with the PHPMyAdmin web interface.
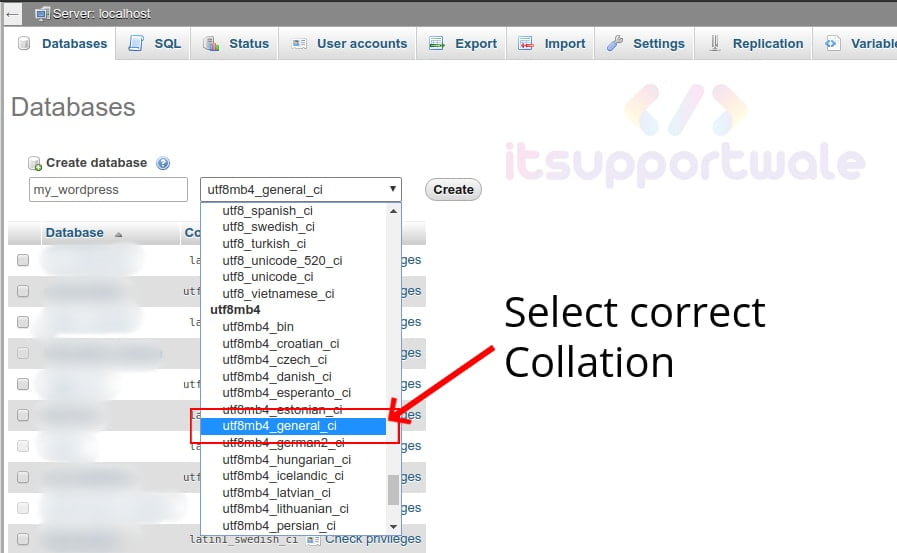
Login to the PHPMyAdmin Web interface And in the Databases tab enter the database name in the database name field. And select the correct collation then click on Create Just like the image below.
Now you can see the newly created database in the list of databases. After that, Click on the name of the created database from the left sidebar menu. And goto privileges tab. Now click on Add user account option.
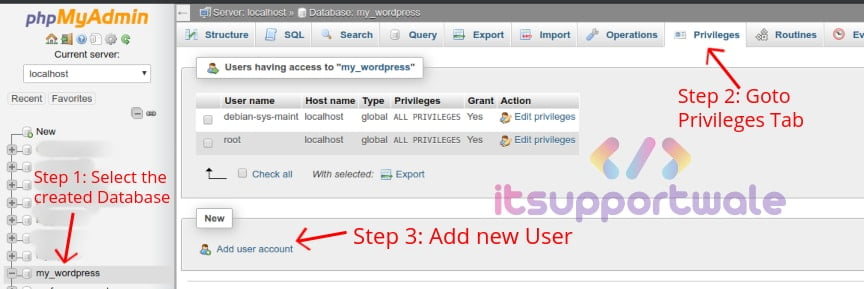
After that, Enter the required details for user creation like username, password, etc. For, giving all permissions to this user click on check all options in front of Global Privileges. See the below image for reference.

Click on the go button when done. Our database and user is ready now.
Step 5: Download latest version of WordPress
WordPress is widely used and very popular CMS software that’s why it also has the issue of security. It’s highly recommended to only install the latest update of WordPress.
At the time of the download, the latest available version is 5.2.4. It may be different when you read this article. But the best thing is that the download link remains the same.
Download the latest version by the below command or by clicking on the given link.
cd /tmp && wget https://wordpress.org/latest.tar.gzExtract the downloaded file in your HTML folder.
tar -zxvf latest.tar.gz
sudo mv wordpress /var/www/html/wordpress
After that fix the ownership and permissions of WordPress files by the below command.
sudo chown -R www-data:www-data /var/www/html/wordpress/
sudo chmod -R 755 /var/www/html/wordpress/
Step 6: Configure Nginx for WordPress
So now, We need to create an Nginx configuration file for our WordPress site and enable it.
create the site configuration file by typing below command and paste the below-given content in that file. Replace example.com with your own domain name.
vim /etc/nginx/sites-available/example.comAfter that, copy the below content and paste it in that file.
server {
        # Redirection to www.
        server_name example.com;
	    return 301 $scheme://www.example.com$request_uri;
}
server {
	   server_name www.example.com;
        root /var/www/html;
        index index.php;
        location / {
            if (!-e $request_filename) {
                    rewrite ^.*$ /index.php last;
            }
            try_files $uri $uri/ index.php?args;
            rewrite ^/sitemap_index\.xml$ /index.php?sitemap=1 last;
            rewrite ^/([^/]+?)-sitemap([0-9]+)?\.xml$ /index.php?sitemap=$1&sitemap_n=$2 last;
        }
        location ^/index.php(/.*)?$ {

            fastcgi_split_path_info ^(.+\.php)(/.+)$;
            fastcgi_pass unix:/var/run/php7.3-fpm.sock;
            fastcgi_index index.php;
            include fastcgi_params;
        }
        location ~ \.php$ {
        try_files $uri /index.php =404;
        fastcgi_pass unix:/run/php/php7.3-fpm.sock;
        fastcgi_index index.php;
        include fastcgi_params;
        }
        location ~* ^.+\.(ogg|ogv|svg|svgz|eot|otf|woff|mp4|ttf|rss|atom|jpg|jpeg|gif|png|ico|zip|tgz|gz|rar|bz2|doc|xls|exe|ppt|tar|mid|midi|wav|bmp|rtf|js|css|woff2)$ {
        access_log off; log_not_found off; expires max;
        }
        location = /robots.txt { access_log off; log_not_found off; }
	    location = /favicon.ico { access_log off; log_not_found off; }
        location ~ /\. { deny  all; access_log off; log_not_found off; }
        access_log   /var/log/nginx/example.com_access.log;
        #access_log off;
        error_log    /var/log/nginx/example.com_error.log;
        gzip_types text/plain text/css application/json application/javascript application/x-javascript text/xml application/xml application/xml+rss text/javascript application/vnd.ms-fontobject application/x-font-ttf font/opentype image/svg+xml image/x-icon image/jpeg image/png image/gif;
    	error_page 500 502 503 504 404 403 /503.html;
            location = /503.html {
                    root /usr/share/nginx/html;
                    internal;
            }
        location ~ ^/\.user\.ini {
        deny all;
        }
}
After saving that file, we have to enable this config by creating a soft link to another Nginx folder.
To enable the site config, run this command
sudo ln -s /etc/nginx/sites-available/example.com /etc/nginx/sites-enabled/After that, restart or reloading the Nginx is required using these commands.
sudo systemctl restart nginxOR
sudo systemctl reload nginxStep 7: Configure WordPress and verify Access
After that, we need to complete the WordPress configuration on the web interface and check that we have access to our WordPress Dashboard.
Open your domain in a Web Browser and you will the Configuration Wizard of WordPress like the image below.

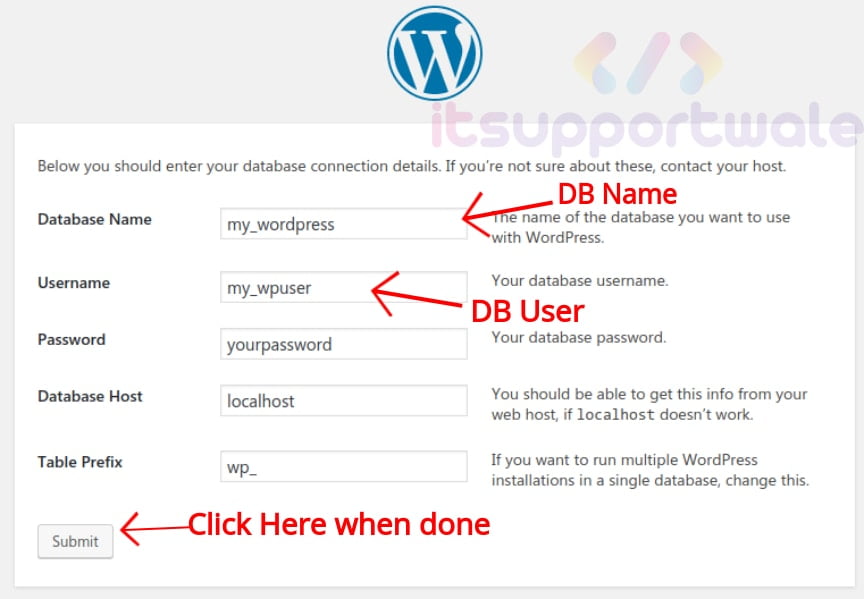
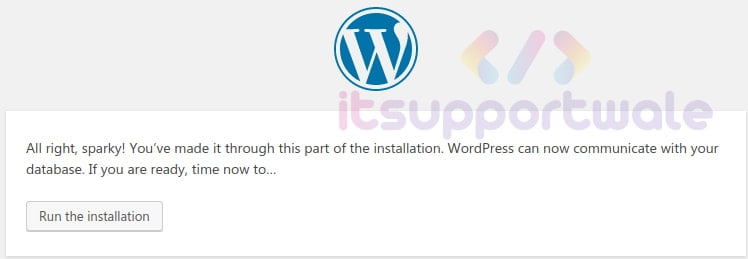
When you click on Let’s go, you will see the below screen where you have to fill the details about the database and user for authentication. Fill the required details and click on the Submit button.
If you get this error – “Sorry, but I can’t write the wp-config.php file“. Then your WordPress installation having a permission issue. To fix this run the below commands.
chown -R www-data:www-data /var/www/html
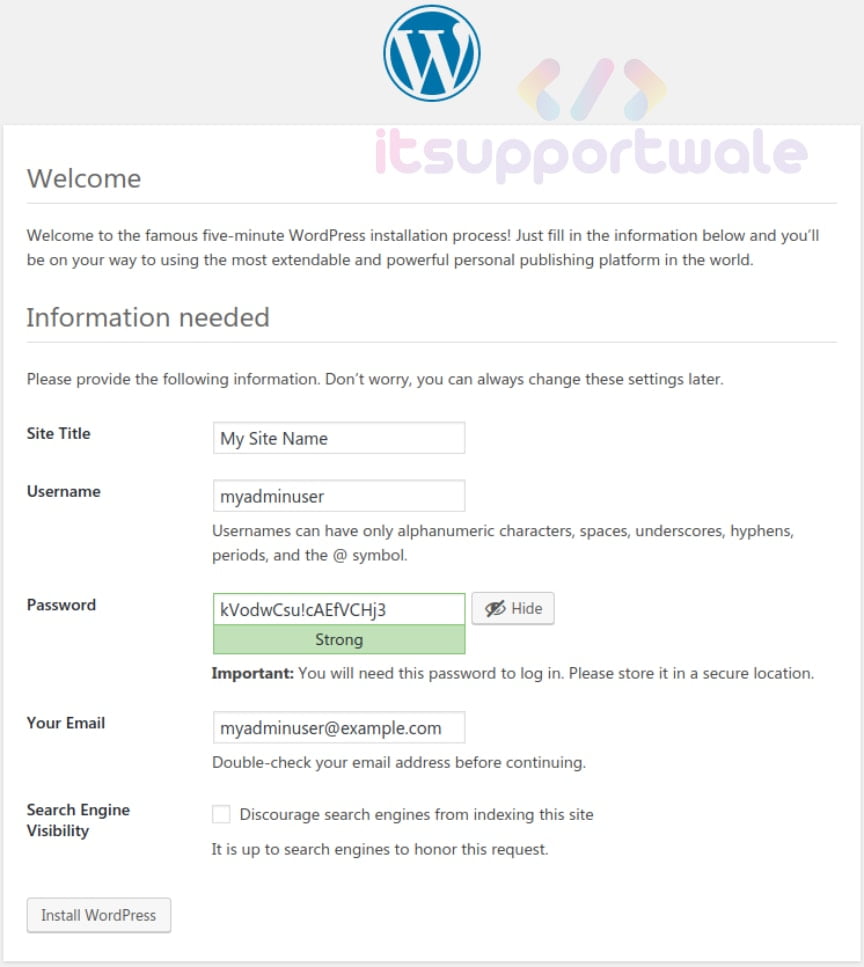
chmod -R 755 /var/www/htmlIf everything is perfect you will be redirected to the Welcome screen. Here you have to create the Admin user and Website Name.
They can be changed later but we have to create one during installation.
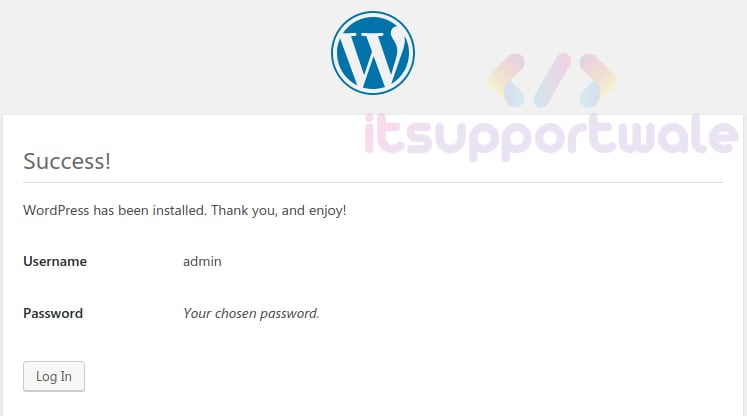
If you get the below Success screen, it means your WordPress Installation is complete and you can log in by admin user.
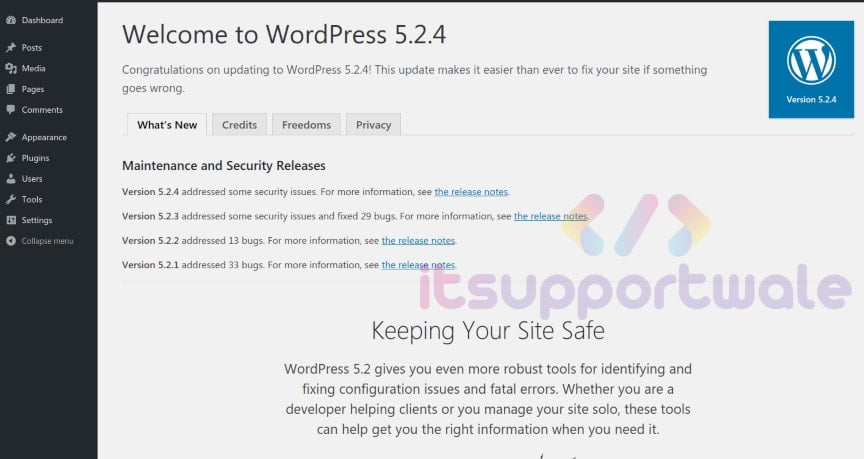
After Login, you can see the About page for check the current version.
Summary:
In this tutorial, we learn, how to install WordPress 5.2 on Ubuntu 18.04 with Nginx and Mysql along with the latest PHP and PHP-FPM. PHP-FPM performs faster than apache in terms of processing.
Share your thoughts and suggestions in the comment section. You can ask for any other tutorials or any other issues in the comment section.