Laravel is a very popular open-source PHP framework aimed at the easy development of applications. If you are looking for a new PHP framework to try, you should give Laravel a try. In this article, you will find the detailed steps to Install the Latest stable Laravel on Ubuntu 20.04 LTS Server with Apache webserver.
Laravel also can be used as an alternative to Codeigniter. Steps in this tutorial also can be used in Ubuntu 16.04 and Ubuntu 18.04 LTS. The latest stable version of PHP is 7.4 at the time of writing this article.

Table of Contents
Preresiquites
The following things are required to install Laravel on ubuntu:
- Ubuntu 20.04 LTS Server installed
- A user with Sudo privileges
Read our previous article “How to install Ubuntu 20.04 LTS Server” if you do not have already installed it.
Steps to Install Laravel on Ubuntu 20.04 Server
Before starting, make sure you update systems repositories using the below command.
sudo apt-get updateStep 1) Install Apache2 on Ubuntu 20.04 Server
Laravel is used for creating web application and we need a Web Server to serve our application over the network. For this Tutorial we are using Apache Webserver which is one of the best Webserver. To install Apache2 Webserver use the below command.
sudo apt install apache2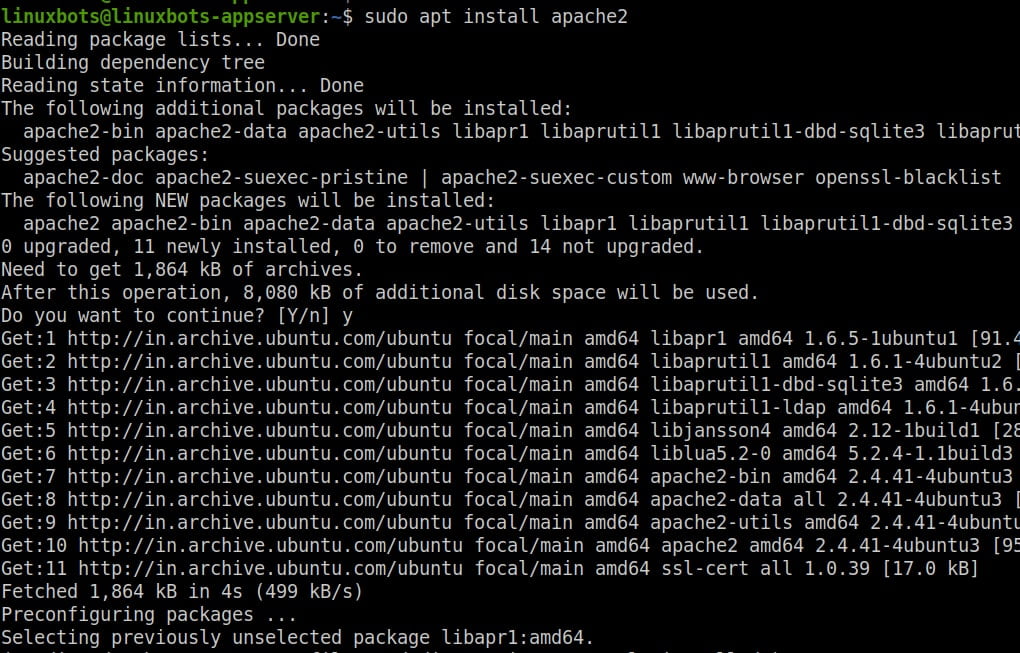
After that, start and enable the apache2 service by using the below commands.
sudo systemctl start apache2
sudo systemctl enable apache2
In the last step verify that Apache2 service is running and enabled by using the below command.
sudo systemctl status apache2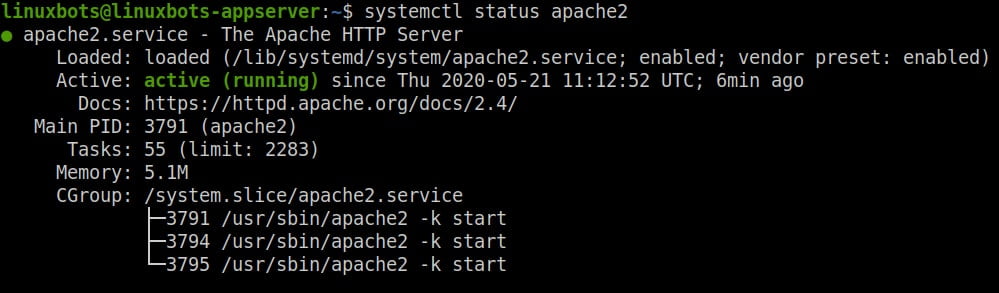
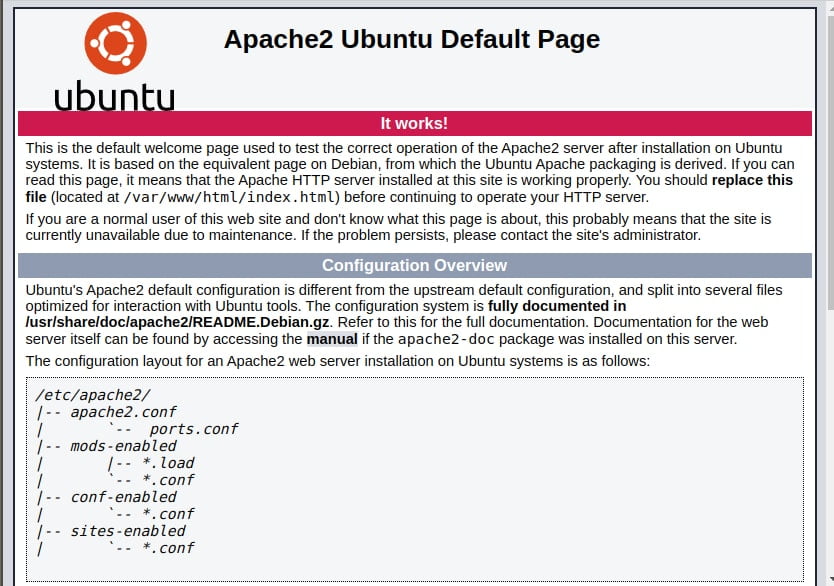
Also you can verify by pointing your browser to the target system IP Address. You should see the default welcome page of Apache2 Webserver.
Step 2) Install PHP 7.4 and required Extensions
At the time of writing this post, the latest stable version of PHP is 7.4. The default repository of Ubuntu 20.04 LTS is updated to PHP 7.4, which means we do not need to use any PPA repository for installing the latest PHP version. Also Laravel required some other PHP extensions which we will install along with it.
Install the PHP 7.4 and its required extensions using the below command:
sudo apt install php7.4 libapache2-mod-php7.4 php7.4-bcmath php7.4-json php7.4-mbstring php7.4-xml php7.4-zip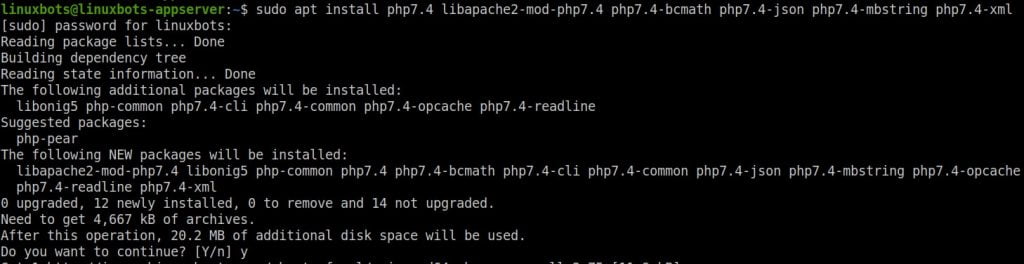
After installing you can verify the installation by using the below command:
php -v
Now we have to restart the Apache2 service to update the changes. Restart Apache2 service by using the below command:
sudo systemctl restart apache2Step 3) Install Composer
Composer a dependency manager tool for PHP programming language. We will use it to download and install the Laravel Core and all the required Laravel components.
To download and install the latest version of Composer in Ubuntu 20.04 LTS Server, use the following command.
curl -sS https://getcomposer.org/installer | sudo php -- --install-dir=/usr/bin --filename=composerVerify the installation of the composer run the below command.
composer -V
Now we have successfully installed Apache2, PHP 7.4, and Composer. We are ready to start the installation of Laravel on Ubuntu 20.04 Server.
Step 4) Install Laravel 6 on Ubuntu 20.04 LTS
At the time of writing this post, the latest stable LTS version of Laravel is 6.0. In this tutorial, we will install the LTS (Long-term support) version of Laravel.
We will install Laravel in the root directory of our web server which is “/var/www/html“. At the first step we navigate to this directory by using the below command.
cd /var/www/htmlTo install Laravel 6.0 LTS using Composer run the create-project command described below.
sudo composer create-project laravel/laravel="6.0" my_webapp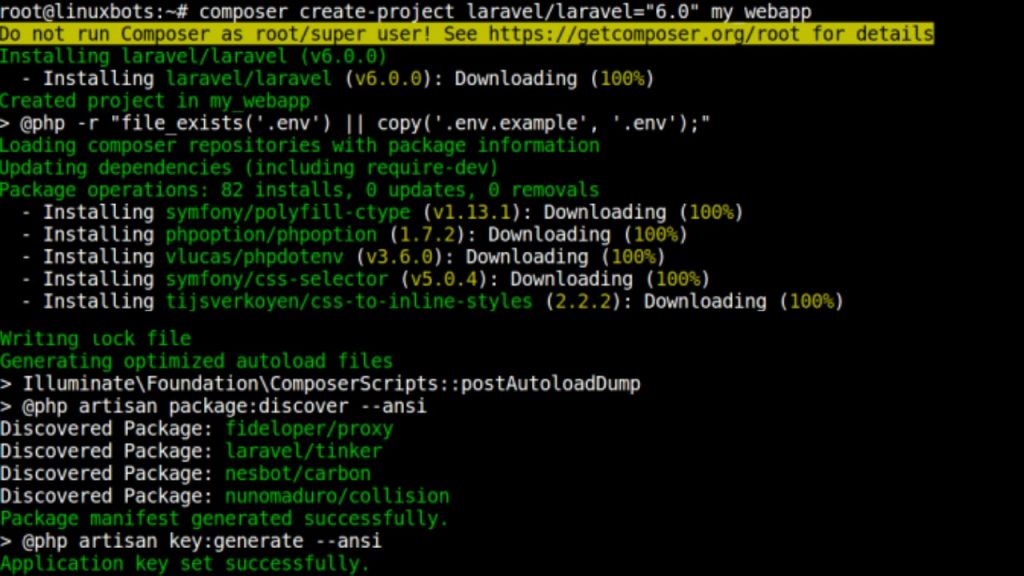
Where you can replace the “my_webapp” with any desired name. To verify the install you can run the Laravel’s web server directly by using the below commands:
cd my_webapp
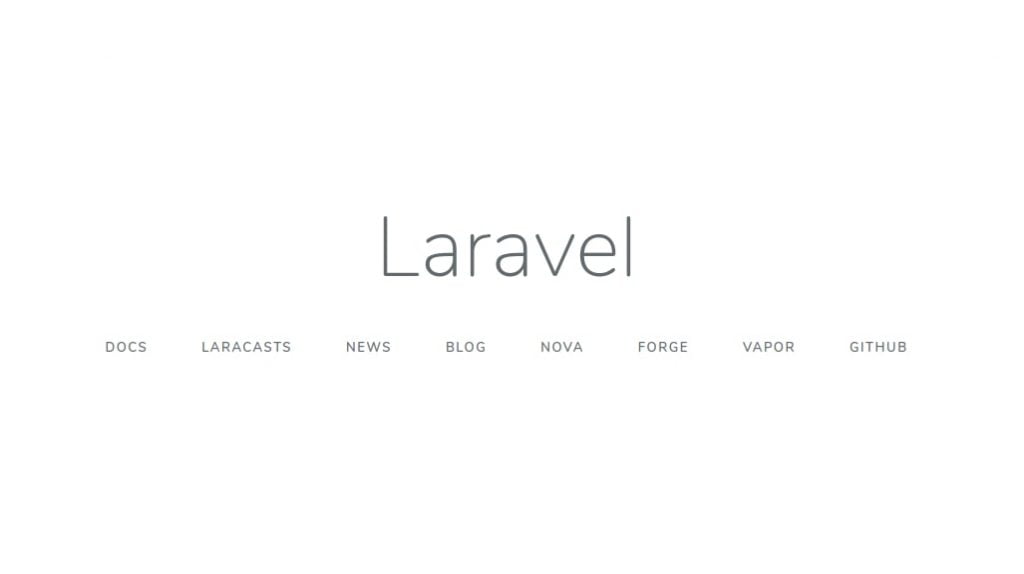
php artisan serveYou can see output like the below image.

When you navigate to the given URL you can see the below Laravel welcome page.
Step 5) Configure Apache for Laravel
After installing Laravel, now we have to configure apache for serving Laravel.
First of all, give the appropriate permissions to the project folder by using the below commands.
sudo chown -R www-data:www-data /var/www/html/my_webapp
sudo chmod -R 755 /var/www/html/my_webapp
sudo chmod -R 775 /var/www/html/my_webapp/storage
In the above commands, replace my_webapp with the name of your project directory.
After that, edit apache’s default site configuration for serving our project directory. First of all, open the default site configuration of apache server.
vim /etc/apache2/sites-available/000-default.confAnd then, replace /var/www/html with /var/www/html/my_webapp/public and then save the config file. After that reload the apache server by using the below command to apply the changes.

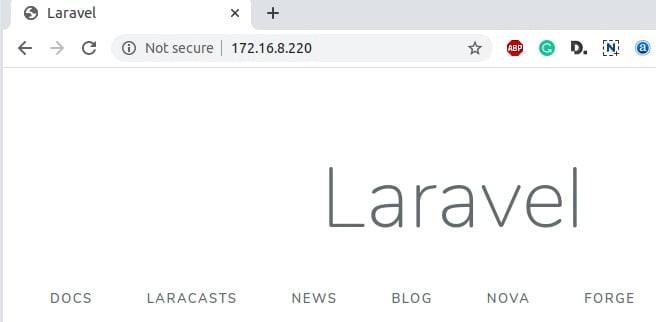
sudo service apache2 reloadVisit http://my_server_ip/ for verifying changes. Replace the my_server_ip with your Ubuntu machine’s IP address.
Conclusion
As a result, we have successfully installed and configure Laravel 6.0 LTS on Ubuntu 20.04 LTS (Focal Fossa) with PHP 7.4 and Apache2.
You can leave a comment below if you have any questions.
Funcionó al primer intento, muchas gracias